

Step-by-Step Guide: How to Apply Press-On Nails with Tabs
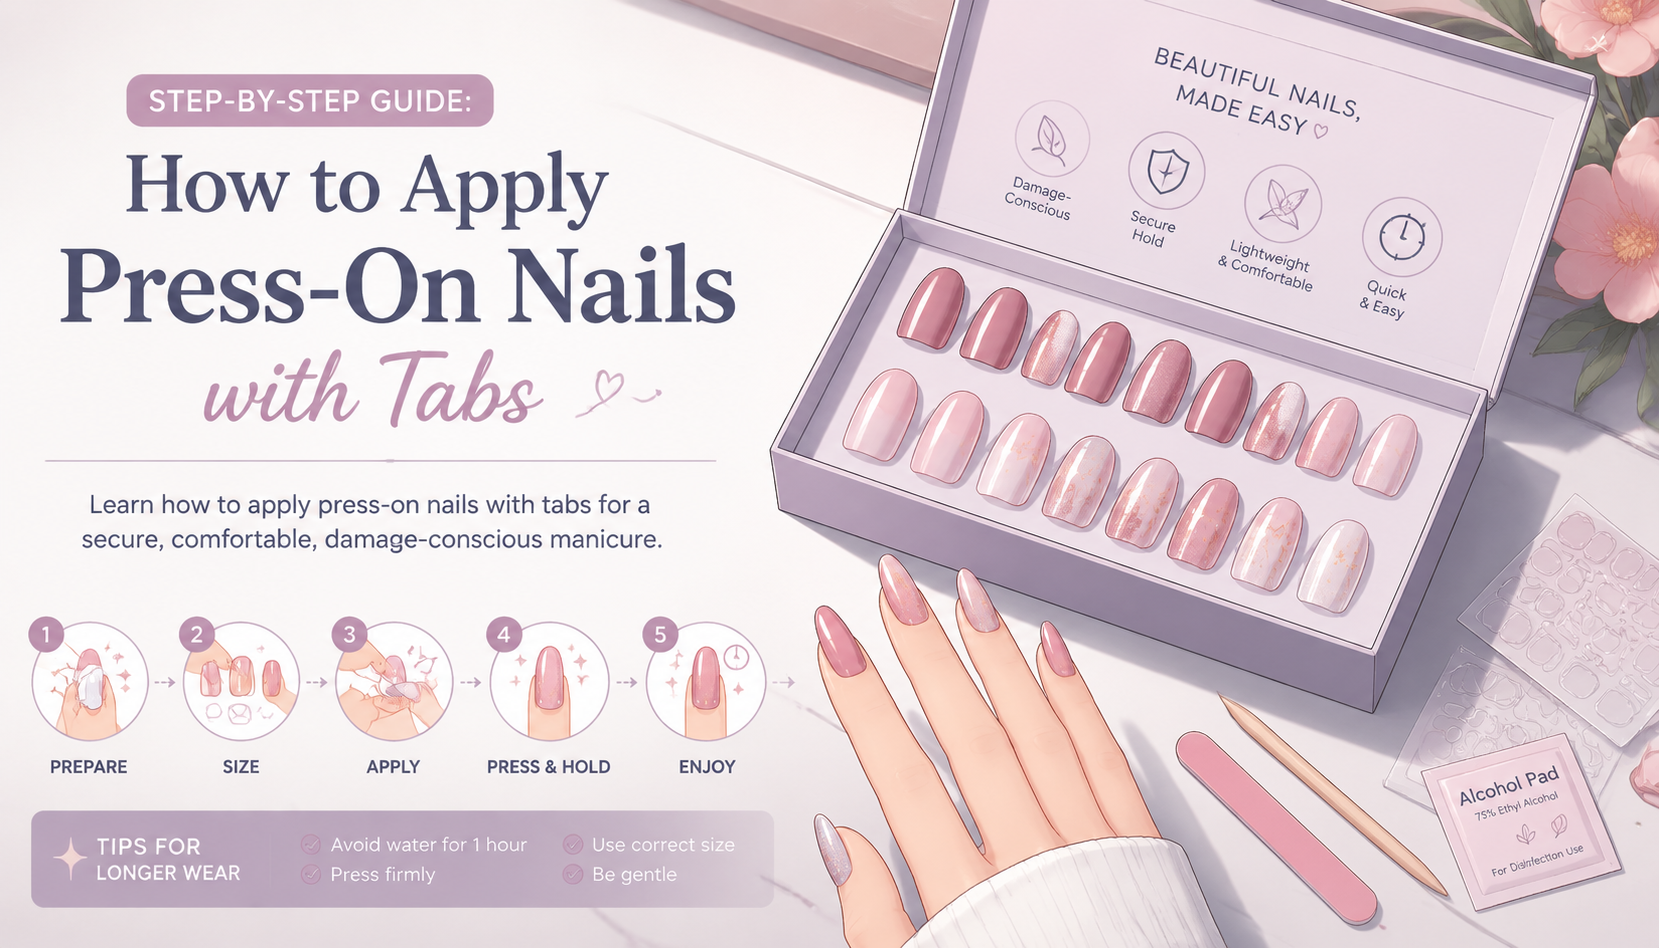
TL;DR: To apply press on nails tabs successfully, start with clean, oil-free nails, choose the correct nail and tab size for each finger, then press each nail firmly into place for a secure bond. Adhesive tabs are best for short-term wear, easy removal, and reusable press-ons, especially when you want a polished manicure without committing to nail glue.
What Is Apply Press On Nails Tabs
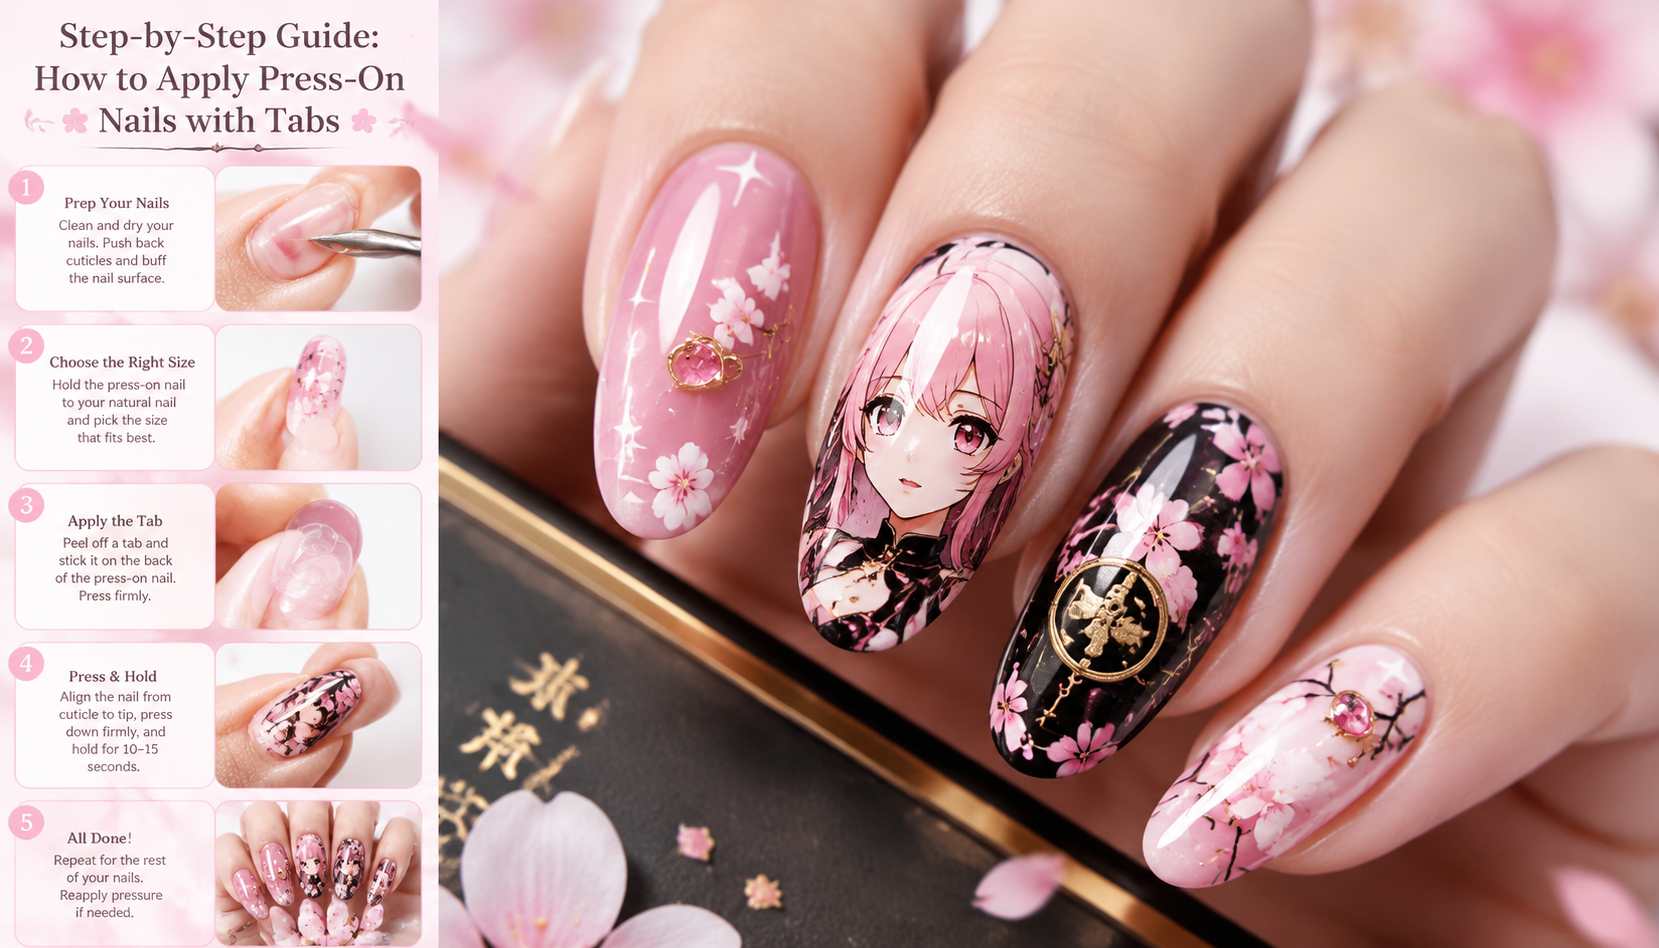
Apply press on nails tabs is the method of attaching press-on nails with double-sided adhesive tabs instead of liquid nail glue.
This technique is popular for people who want a quick manicure, easier removal, and a more nail-friendly experience. Adhesive tabs create a temporary but reliable bond between your natural nail and the press-on, making them ideal for events, weekends, photoshoots, travel, or testing a new shape before wearing it longer with glue.
Unlike traditional glue applications, tabs are designed for flexibility and convenience. They are usually pre-cut in multiple sizes, have adhesive on both sides, and can often be paired with reusable press-ons. When applied correctly, they can give a clean, seamless finish that looks refined rather than rushed.
For anyone new to press-ons, learning how to apply press on nails tabs properly is the difference between a manicure that looks elevated and one that lifts within hours.
Why It Matters
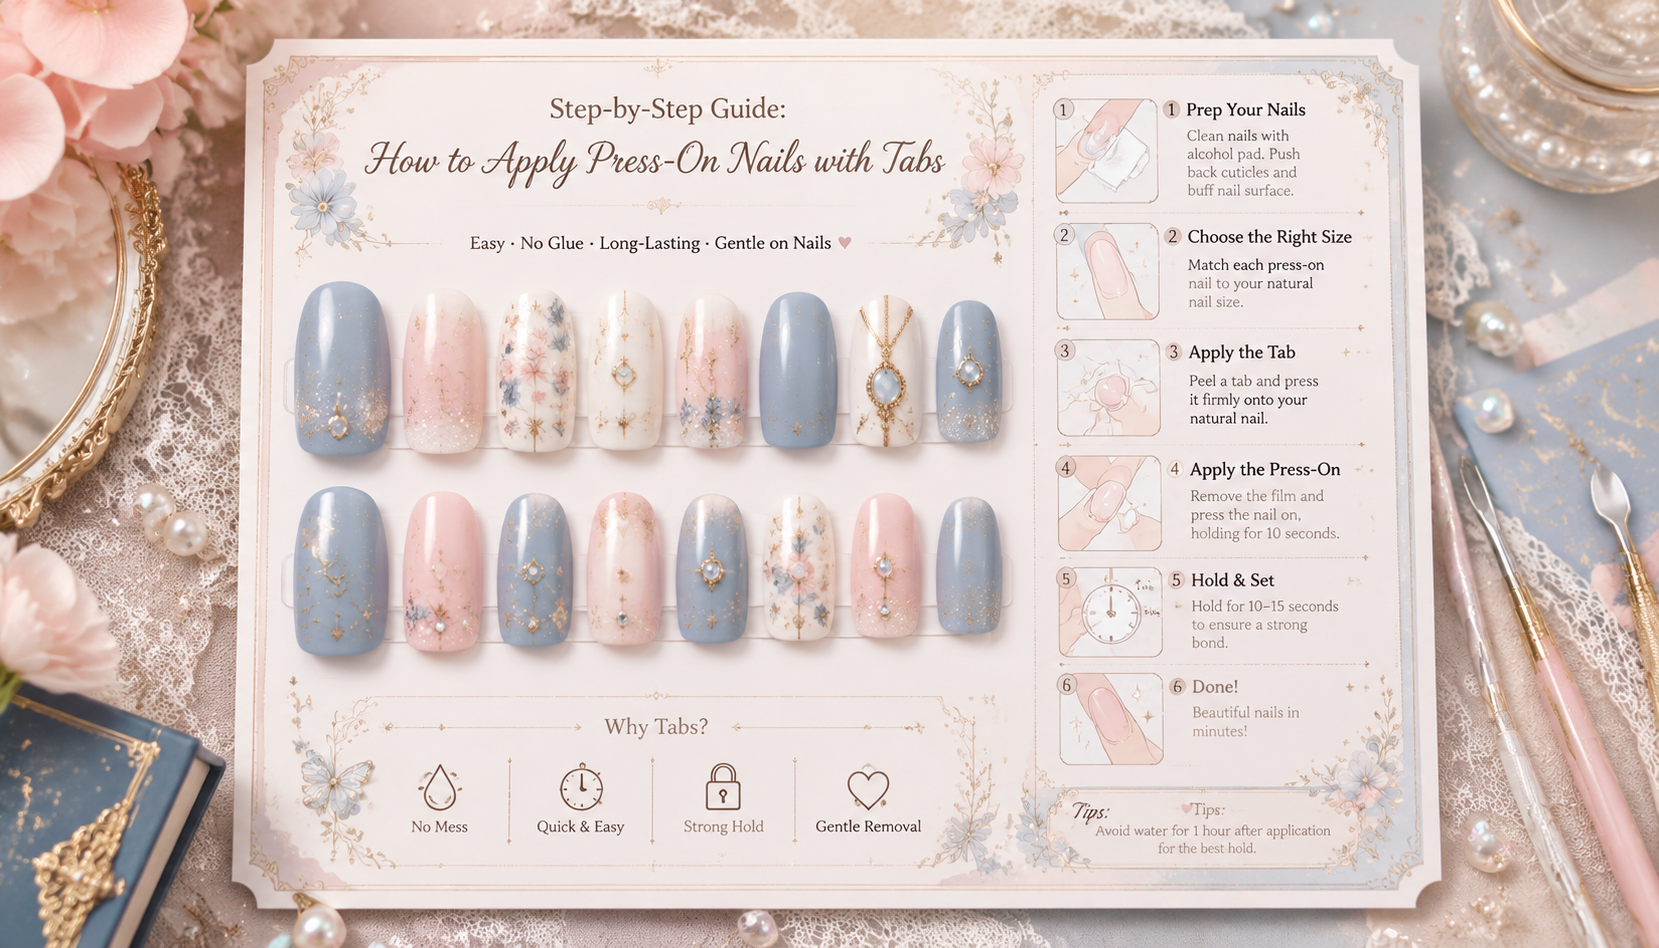
A beautiful press-on set is only as good as the application. Even premium nails can look uneven, bulky, or short-lived if the prep is poor or the adhesive is mismatched. Tabs matter because they directly affect comfort, appearance, and longevity.
The biggest advantage of tabs is their balance between elegance and ease. They are less messy than glue, gentler on the natural nail plate, and far simpler to remove. That makes them especially appealing if you like to change your nails often or want to preserve the condition of your natural nails.
They also matter for fit. A good tab application helps the press-on sit flush against the nail bed, reducing visible gaps and improving the overall realism of the manicure. If the tab is too small, the press-on may pop off. If it is too large, it can spill beyond the edge and collect lint or lift at the sides.
In practical terms, the right application method can save time, protect your natural nails, and make your manicure look far more expensive.
How It Works
Adhesive tabs work by creating a pressure-activated bond between the natural nail and the press-on nail. One side adheres to your natural nail, and the other side grips the inside of the press-on. Once pressure is applied, the bond strengthens, especially when the nail surface is clean and free from oils.
Because tabs are slightly cushioned, they can also help fill tiny natural curves or unevenness in the nail plate. This can make the manicure feel more comfortable and reduce the rigid sensation some people notice with glue.
However, tabs are not intended for maximum durability in the same way glue is. They are best understood as a short-wear solution with premium convenience. If you want your manicure for a night out, a few days, or a special occasion, tabs are a strong choice. If you need a manicure to survive long showers, workouts, dishwashing, and a full week or more of heavy wear, glue often performs better.
Here is a quick comparison:
| Feature | Adhesive Tabs | Nail Glue |
|---|---|---|
| Wear time | Short to moderate | Moderate to long |
| Removal | Easy and gentle | More involved |
| Reusability of press-ons | Often higher | Sometimes reduced |
| Nail damage risk | Lower when used correctly | Higher if removed improperly |
| Application mess | Minimal | Moderate |
| Best for | Events, weekends, beginners | Extended wear |
Step-by-Step Guide: How to Apply Press-On Nails with Tabs
If you want the best result, move slowly and treat the process like a proper manicure rather than a shortcut. Precision is what makes tabs look luxurious.
Step 1: Wash and dry your hands thoroughly
Start with clean hands. Remove lotion, oils, and any residue from the nail area. Use soap and water, then dry completely. Moisture is one of the fastest ways to weaken adhesive tabs.
Step 2: Push back your cuticles
Use a cuticle pusher or orangewood stick to gently push back the cuticles. This creates a cleaner application zone and helps the press-on sit closer to the nail bed. A closer fit always looks more professional.
Step 3: Lightly buff the natural nail surface
Gently buff away surface shine from each nail. You do not need aggressive filing. The goal is simply to reduce slickness so the tab can grip more effectively.
Step 4: Clean nails with alcohol or nail dehydrator
After buffing, wipe each nail with alcohol or a nail dehydrator. This removes dust and oil. Do not touch your nails afterward, as your fingertips can transfer oil back onto the surface.
Step 5: Size every press-on nail before applying
Lay out the press-ons in order from thumb to pinky for both hands. The correct size should cover the nail from sidewall to sidewall without pressing into the skin. If you are between sizes, choose the slightly smaller option and align it carefully.
This step is often overlooked, yet sizing is essential to a polished finish.
Step 6: Match each adhesive tab to each natural nail
Choose a tab size that fits just inside the edges of your natural nail. It should not overlap onto skin or cuticle. Press the tab down firmly onto the natural nail and smooth out any air pockets.
Step 7: Remove the top protective film
Once the tab is secured to your nail, peel away the top protective layer. Avoid touching the exposed adhesive too much, since skin oils can reduce stickiness.
Step 8: Align the press-on at the cuticle line
Hold the press-on at a slight angle and place it close to the cuticle without touching the skin. Then lower the rest of the nail onto the adhesive tab. This helps prevent gaps and creates a more natural look.
Step 9: Press and hold firmly
Press the nail down with steady, firm pressure for at least 20 to 30 seconds. Focus especially on the center and side edges. Pressure is what activates and strengthens the bond.
Step 10: Repeat one finger at a time
Continue finger by finger rather than placing all tabs first. This helps preserve adhesive quality and reduces accidental contamination.
Step 11: Avoid water and heat immediately after application
Try not to wash your hands, shower, or expose your nails to steam for at least one to two hours. The longer you keep them dry after application, the better your wear time is likely to be.
Sizing Tips for a Better Fit
One of the most important parts of learning how to apply press on nails tabs is understanding fit. Even the strongest tab will not compensate for a poorly sized press-on.
A good fit means the press-on mirrors your natural nail width with no pinching and no visible overhang. If the nail is too large, it can push against the sidewalls and lift. If it is too small, it can leave the edges exposed and look less natural.
Use this quick sizing guide:
| Sizing Issue | What It Looks Like | Best Fix |
|---|---|---|
| Too wide | Press-on touches skin at the sides | Size down or file side edges slightly |
| Too narrow | Natural nail visible at the edges | Size up if available |
| Too long for lifestyle | Feels awkward during daily tasks | Choose a shorter shape |
| Cuticle gap | Space near the base of the nail | Reposition closer to cuticle line |
| Uneven angle | Nail points left or right | Apply slowly and center before pressing |
If your set allows gentle filing at the side edges, you can refine the fit for a custom result. That small adjustment can make the manicure look significantly more tailored.
Common Mistakes to Avoid
Even with quality tabs and beautiful press-ons, a few common errors can shorten wear time.
Applying over oily nails is the biggest issue. Natural oils, hand cream, and even soap residue can interfere with adhesion. Another major mistake is choosing tabs that are too small. A tiny tab may feel neat, but it creates weak contact and invites lifting.
Rushing the pressure step is also a problem. Many people place the nail and move on too quickly. Holding each nail firmly in place for a full 20 to 30 seconds improves the bond noticeably.
Water exposure too soon is another avoidable mistake. If you apply your nails and immediately shower, wash dishes, or use very hot water, the tabs may soften before they fully settle.
Lastly, avoid placing the press-on directly onto the skin or cuticle. That not only feels uncomfortable, but also disrupts the seal and makes lifting more likely.
Styling Tips
Press-ons applied with tabs can still look exceptionally refined. The secret is in the finishing details.
Choose a shape that suits both your nail beds and your routine. Short almond and short oval often look especially natural, while medium coffin or square can feel more editorial. If you are wearing your press-ons for a formal event, select a style that complements jewelry and wardrobe tones rather than competing with them.
After application, check each nail from multiple angles in natural light. If a nail appears slightly off-center, adjust it immediately before the adhesive fully settles. Keep a small manicure stick nearby to press along the cuticle line and sidewalls for a cleaner seal.
For a premium finish, apply a tiny amount of cuticle oil around the skin only after the nails are fully set and dry. This softens the surrounding area and makes the manicure look freshly done. A brief hand cream moment, avoiding the nail surface itself, can also elevate the final presentation.
If you want your set to look more bespoke, consider gently reshaping the free edge with a fine file after application. Just make sure the filing is minimal and controlled.
When Tabs Are the Best Choice
Adhesive tabs are ideal when flexibility matters more than maximum wear. They are excellent for weddings, dinners, holidays, creative shoots, interviews, or any moment when you want polished nails without long-term commitment.
They are also a strong option for beginners. Since tabs are easier to remove and less intimidating than glue, they offer a lower-risk way to learn sizing, placement, and shape preferences. They can also be perfect if you plan to reuse a favorite set and want to preserve its condition.
For many wearers, tabs are not the lesser option. They are simply the smarter one for certain occasions.
How to Remove Press-Ons Applied with Tabs
Removal should be slow and gentle. Never force the nails off. If the bond still feels tight, soak your hands in warm, soapy water for several minutes to help loosen the adhesive. You can then use an orangewood stick to gently lift at the sides.
Once removed, peel away leftover tab residue from the natural nail and the inside of the press-on. Clean both surfaces before storing the nails for future wear. Careful removal is one of the main reasons tab-applied press-ons remain more reusable.



FAQs
1. How long do press-on nails with tabs last?
Most tab applications last from one to three days, depending on prep, fit, and daily activity.
2. Can I shower with press-on nails applied with tabs?
Yes, but limiting hot water and long exposure helps the adhesive stay intact longer.
3. Are adhesive tabs better than nail glue?
Tabs are better for short wear, easy removal, and lower damage risk, while glue is better for long-lasting hold.
4. Can I reuse press-on nails after using tabs?
Yes, careful removal and proper cleaning usually make tab-applied press-ons reusable.
5. What causes press-on nails with tabs to pop off quickly?
Poor prep, oily nails, wrong sizing, early water exposure, and weak pressure during application are the main causes.